Rachel McCollin talks you through adding mailing list signups to your author website
Like to add mailing list signups to your author website but not sure how? Rachel McCollin explains in easy stages how to do just that, with a case study of a WordPress/MailChimp combination – though other systems are available and work in a similar way.
If you’ve spent any time reading or listening to ALLi’s advice on connecting with readers and growing your audience, you’ll know that one of the best ways to do this is via your author mailing list. Your mailing list belongs to you: you aren’t subject to the whims of social media platforms or ebook distributors and can use it to keep in touch with your readers for as long as they remain subscribed.
But how can you make it easy for people to subscribe?
There are platforms out there that can add people to your mailing list for you. You can connect BookFunnel to your mailing list, as well as Facebook adverts. You can also use the sign-up forms created by your mailing list provider.
But the best way to pick up new readers is via your website.
In this post, I’ll show you how to add a MailChimp widget to your self-hosted WordPress website. It’ll appear in the sidebar of every page in your site and people will be able to add their email address and automatically be added to your mailing list.
Note: If you’re on WordPress.com, you can still hook up to MailChimp, but you do it differently. Watch out for a future post showing you how to do that. If you want to know more about the difference between self-hosted WordPress and wordpress.com, see our article.
What You’ll Need
To implement this, you’ll need a self-hosted WordPress site (sometimes referred to as wordpress.org).
I’m going to demonstrate this using MailChimp, but the process is similar for other mailing list providers. All the popular ones provide a WordPress plugin. You can find them here:
- MailChimp
- MailerLite
- ConvertKit
- Constant Contact
- AWeber(not a dedicated plugin for AWeber but works with the platform)
You’ll need an existing account with a mailing list provider, and a list for people to be added to.
What you won’t need is to write any code. You can add a mailing list widget to your site using the WordPress admin interface, and you don’t need to write a line of code or hire a developer to do it for you. And it’s free!
So let’s work through the steps.
1. Install the MailChimp Plugin
You’ll need to install the MailChimp plugin to be able to connect your website to your mailing list.
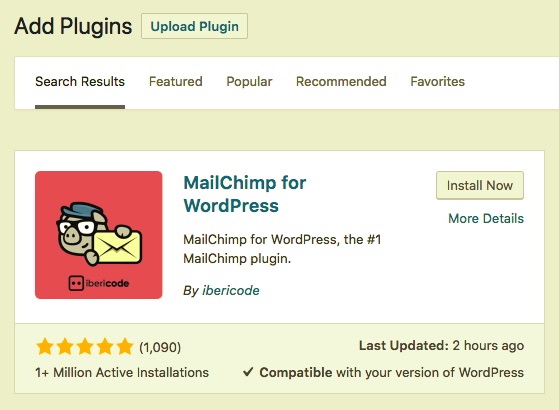
In your WordPress dashboard, go to Plugins > Add New. Type ‘mailchimp’ into the search box and you’ll see the MailChimp plugin:
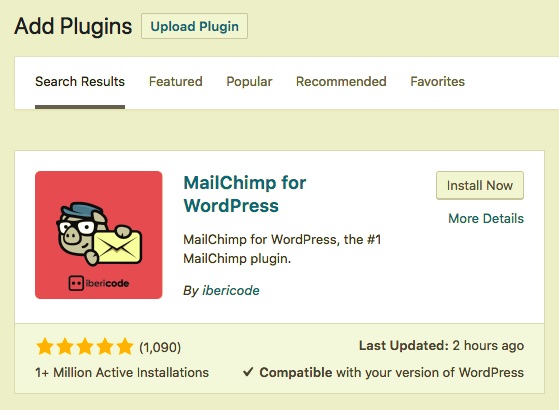
Click the Install button. WordPress will install the plugin and the button will change to an Activate button. Click it again to activate the plugin.
2. Linking the Plugin to Your Mailing List
Now you need to get your site to talk to your mailing list, via the plugin settings.
A new item will have appeared in your admin menu on the left, called MailChimp for WP. Click on that to see the MailChimp settings screen:
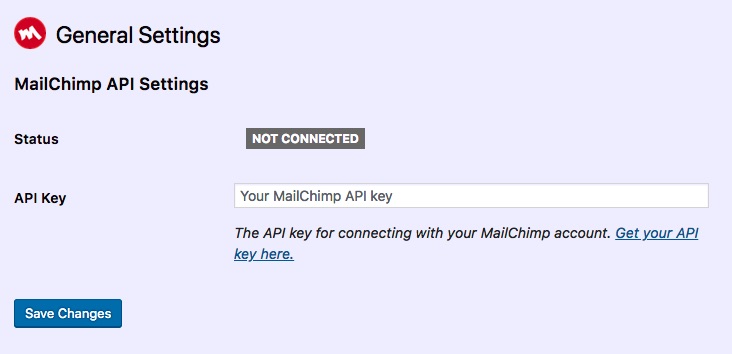
You’ll need to provide your API key from MailChimp to get the plugin to work. To do that, click the link in the settings screen. It will take you to your MailChimp account. Log in to that if you’re not already logged in, and you’ll see the API Keys screen.
Copy the API key from that screen and paste it into the API Key field back in the plugin settings screen in WordPress. Click the Save Changes button.
A list of your mailing lists will now appear at the bottom of the settings screen (you may need to scroll down). Your MailChimp account is now linked to your website.
3. Creating the MailChimp Form
You’re not done yet. Now you need to configure the form which people will use to sign up to your mailing list.
Still in the WordPress admin screens, go to MailChimp for WP > Form. Here’s where you set up the form. If you want multiple forms or you want to add people to groups within your lists, you’ll need the premium MailChimp plugin: there’s a link to that on the right hand side of the screen.
Type in what you want the form to be called and select the list it will link to:

Click the Add New Form button and your form will be saved.
If you want to edit your form or change which list it links to, you can do this via the Settings tab on the Form page. You can also add extra fields via the Fields tab. Beware editing the code directly: it’s safest just to use the buttons.
You can also edit any messages using the Messages tab. You might want to use this to let people know what to expect from your mailing list and to reassure them that you won’t share their email or spam them.
4. Adding the MailChimp Widget
The final step is to add the MailChimp widget to a widget area in your site.
Go to Appearance > Widgets to see the widget editing screen. Which widgets you have available to you will depend on your theme, but most themes will have a sidebar, which is the most common place to put this widget.
Find the MailChimp Sign-Up Form widget in the list on the left and drag it over to the widget area where you want it to appear. Edit the title of the widget – this is what people will see.
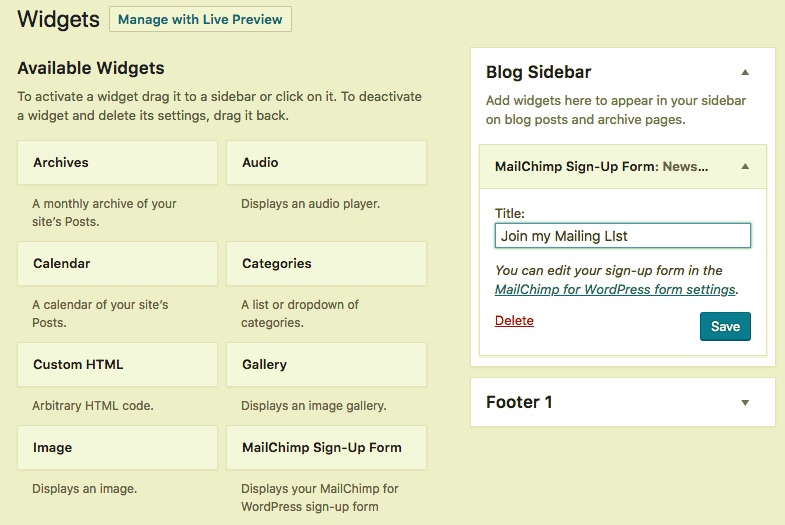
Now save that and check your site. You should see a shiny new mailing list signup in your sidebar.
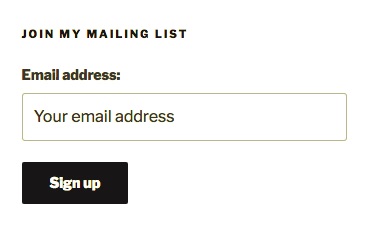
Thats it! People can now sign up to your mailing list on your website.
Link Your Mailing List to Your Website and Get More Signups
If you follow the steps above, it will be easy for anyone visiting your website to sign up to your mailing list.
The next step is to create your autoresponder email(s) so that people will be made to feel welcome as soon as they’ve joined. To find out more about doing that, check out this video from the 2018 Self Publishing Conference, hosted by ALLi.
And now all you need to do is direct people to your website and watch your mailing list grow!
OVER TO YOU What's your preferred mailing list management system and why? We've love to hear your recommendations.
#Indieauthors - struggling to add a #mailinglist sign-up to your author website? Let @rachelmcwrites show you how in this new post on the #ALLi blog. Share on XOTHER POSTS ABOUT MAKING YOUR AUTHOR WEBSITE WORK HARDER
From the ALLi Author Advice Center Archive

